
Waterproofing Basics: Stopping Dampness Before It Damages Your Building
Leaking terraces, damp walls and peeling paint all point to one problem: water. Understand the causes of dampness and the steps that protect your building for the long term.
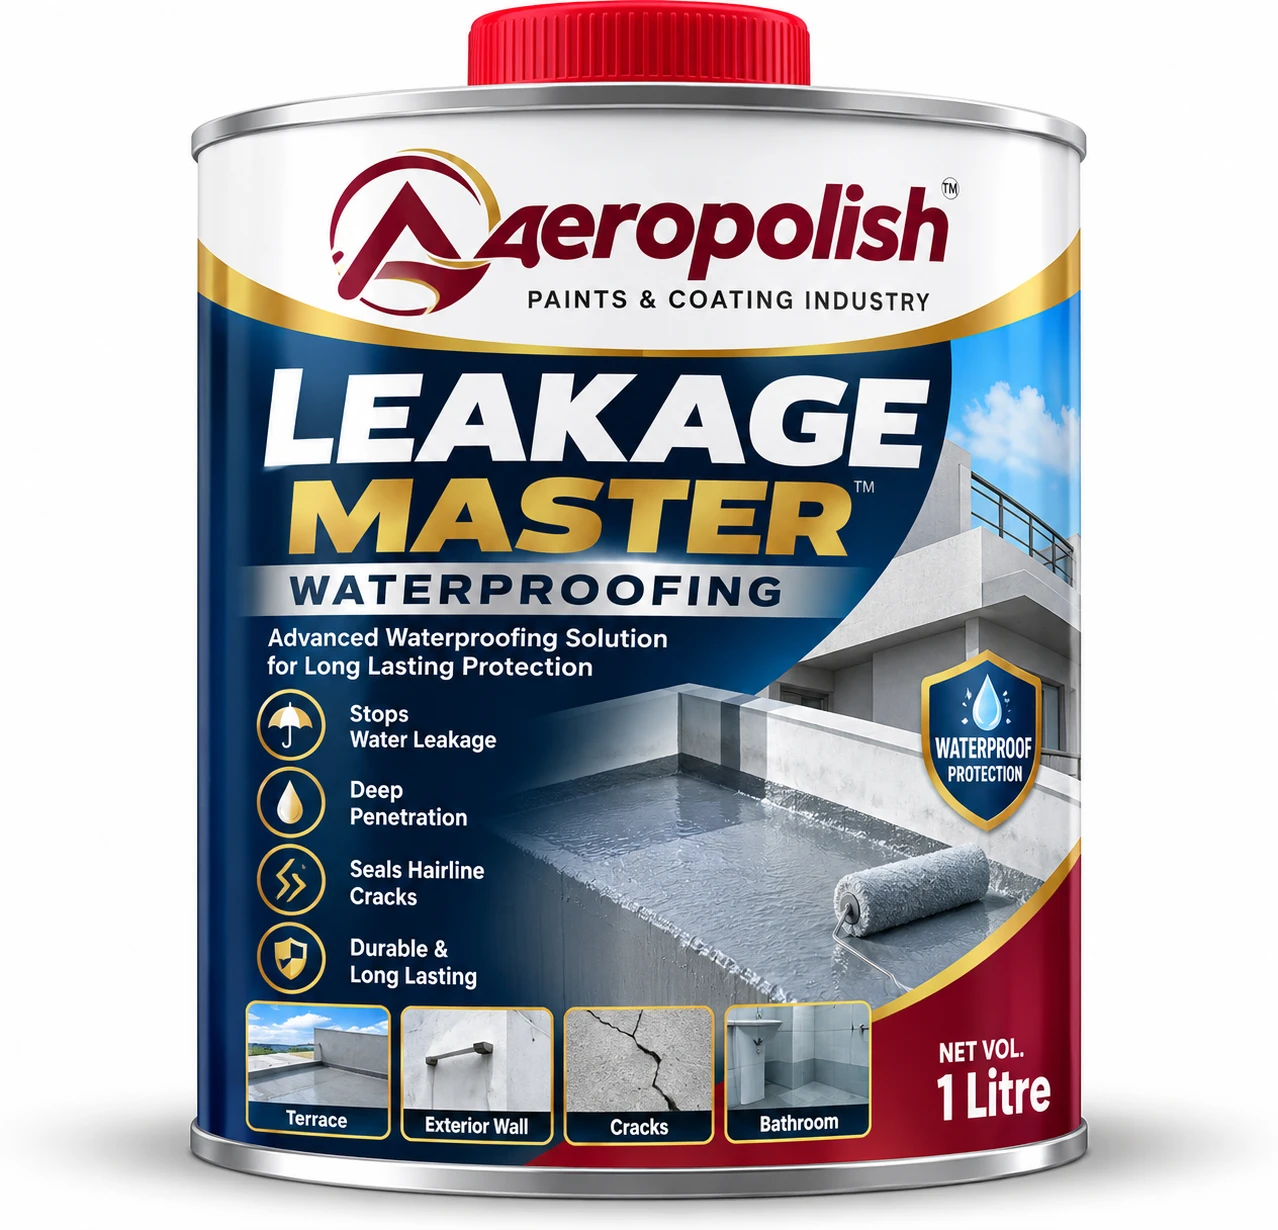
Water is the most common reason buildings deteriorate. It weakens concrete, corrodes the steel inside it, spoils plaster, peels paint and encourages mould that harms health. Often the damage is slow and hidden, so by the time you notice a stain on the ceiling, the problem has been growing for a while.
The cheapest way to deal with water is to stop it early. This article explains where dampness comes from, which areas need waterproofing and how a good waterproofing job is done.
Where does dampness come from?
There are several common sources:
- Leaking roofs and terraces: cracks, poor slopes and worn-out coatings let rainwater seep through the slab.
- Rising damp: moisture travels up from the ground through the lower part of walls.
- Penetrating damp: rain enters through cracks, porous plaster and poorly sealed joints in external walls.
- Plumbing leaks: damaged pipes, joints and bathroom floors leak into walls and ceilings below.
- Condensation: warm, humid indoor air meets cold surfaces and forms water, especially in poorly ventilated rooms.
Warning signs you should not ignore
Watch out for damp patches and stains, peeling or bubbling paint, white powdery salt deposits, a musty smell, black or green mould, cracked plaster and rust marks on exposed steel. If you see any of these, find the source before repainting. Painting over a damp wall only hides the problem for a short time.
Areas that need waterproofing
Terraces and roofs take the full force of sun and rain. Bathrooms, kitchens and wet areas see constant water. Basements and foundations deal with ground moisture. External walls face driving rain. Water tanks, balconies and swimming pools need reliable protection to stay watertight.
Each area needs a waterproofing system suited to its conditions, such as whether the surface moves, is walked on or is exposed to sunlight.
How a good waterproofing job is done
- Find and fix the cause: repair leaking pipes, blocked drains and structural cracks first.
- Prepare the surface: remove loose material, clean off dust, oil and old coatings, and open and repair cracks.
- Treat joints and corners: seal junctions between the wall and floor, around pipes and at drains.
- Apply the waterproofing system: put on the coating or chemical in the recommended number of coats and thickness, letting each coat dry.
- Protect and test: allow the system to cure, and on terraces and bathrooms, flood test with water for a day or more to confirm there are no leaks.
- Finish: add a protective screed, tiles or topcoat as needed.
Common mistakes
- Painting over damp walls and expecting the paint to stop the leak.
- Skipping crack treatment and joint sealing, where most leaks start.
- Applying too thin a coat to save material.
- Not allowing enough curing time before exposing the surface to water or foot traffic.
- Forgetting drainage and slope, so that water collects on the surface.
- Choosing a product that is not suited to the surface or the weather exposure.
Maintenance and long-term care
Even the best waterproofing benefits from regular checks. Clear terrace drains and gutters before every monsoon, look for new cracks or lifting and repair them quickly, and keep rooms ventilated to reduce condensation. A small repair after the rains is far cheaper than redoing a whole waterproofing system.
If you notice persistent dampness, speak to a waterproofing specialist. Our team can suggest an Aeropolish waterproofing solution for your building and explain the right application method.